Payment Forms
Setup Instructions
-
Firstly, make sure you have downloaded the "payment_form" text file located here.
-
Go to, and Open the downloaded text file "payment_form.txt" in a text editor such as Notepad or something similar.
-
Search the file and locate the following line:
"[Enter your Nochex Merchant ID]".
<input name="merchant_id" value="[Enter your Nochex Merchant ID]" type="hidden" />
- Replace:
"[Enter your Nochex Merchant ID]"with your Nochex Merchant ID for example: "myemail@mywebsite.com" or "test123".
<input name="merchant_id" value="test123" type="hidden" />
-
Save your payment form as an html document.
-
Open your payment_form.html page in a web browser, and test that everything is working correctly.
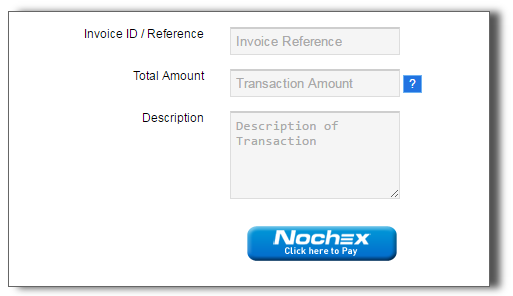
-
Once you are happy the payment form is working, you can add it to your website design.
- Firstly, make a copy of one of your website pages on your website already.
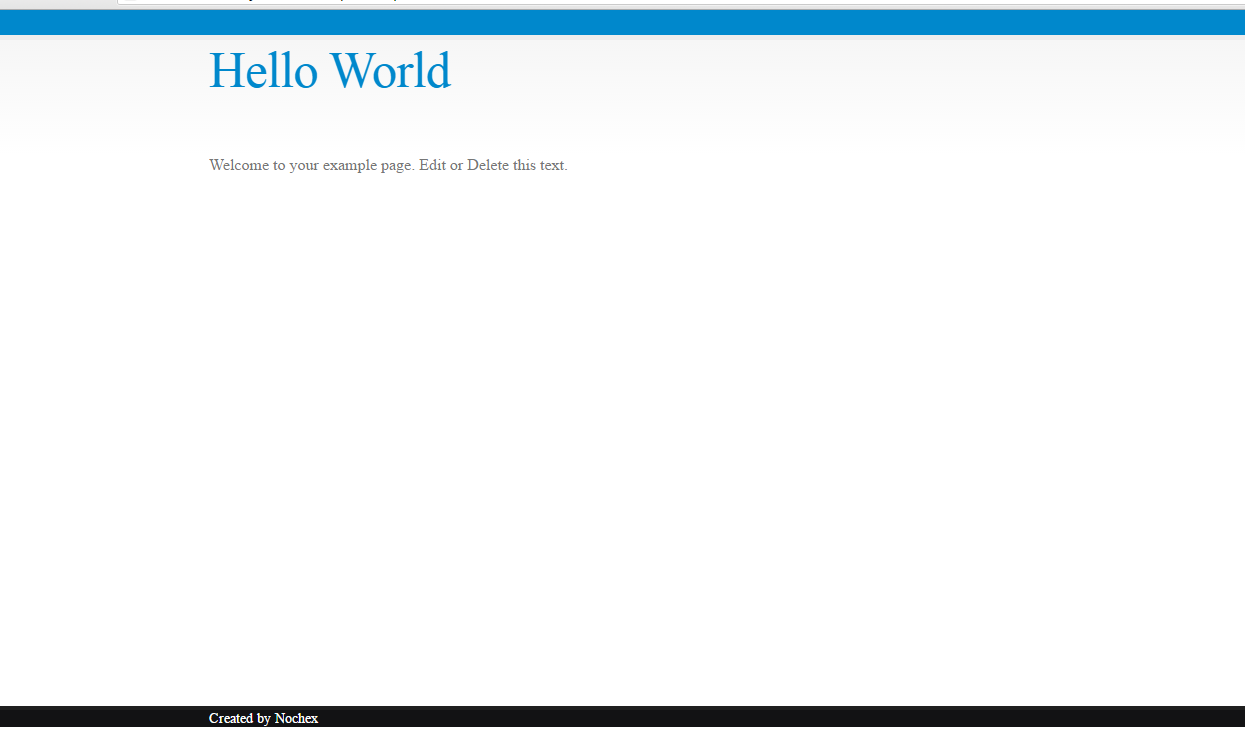
- Next open the copied page in a text editor, and remove all the text / graphics in the main content of the page.
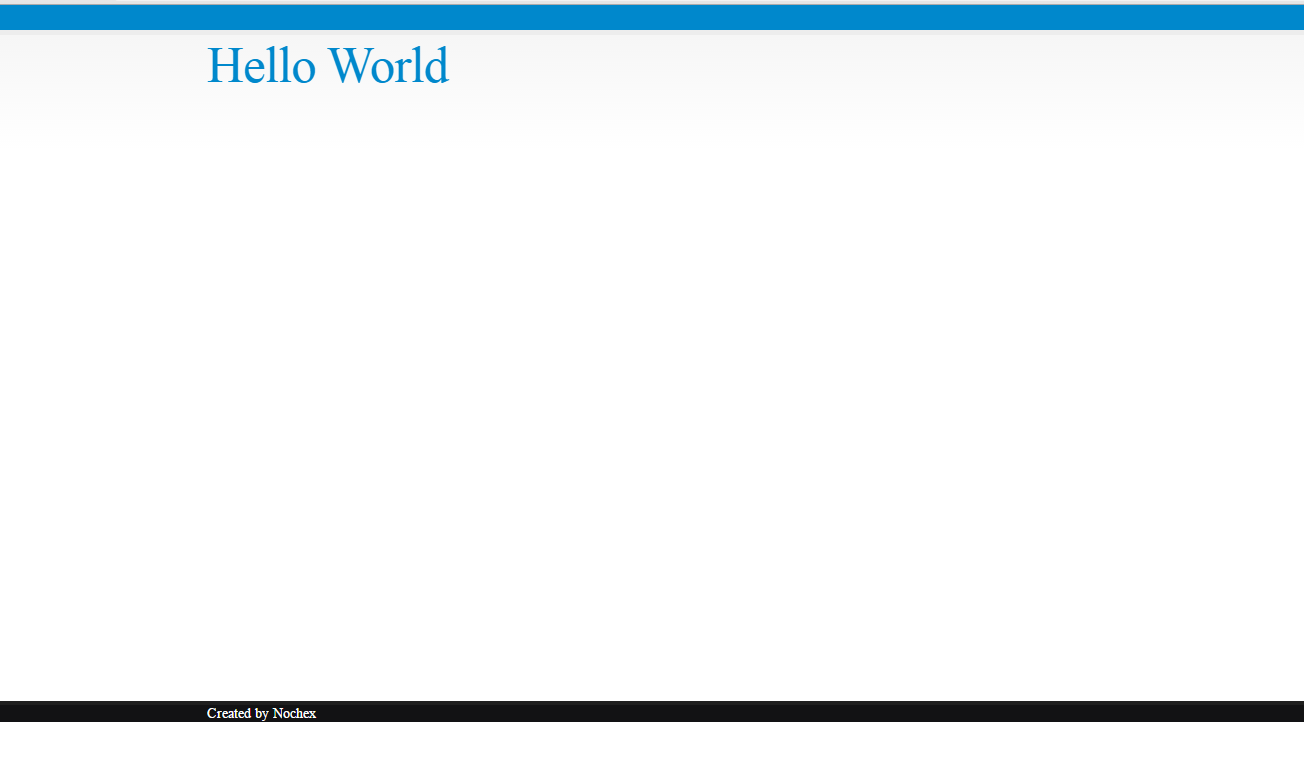
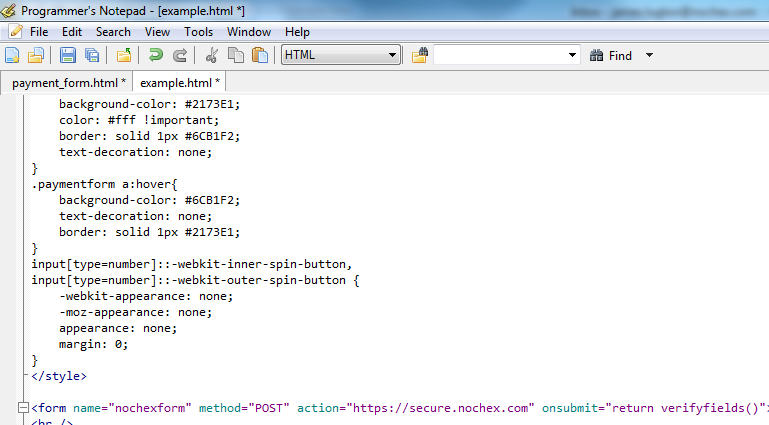
- Once you have cleared some space for your payment form, go to your payment_form.html page in your text editor and copy the entire contents.
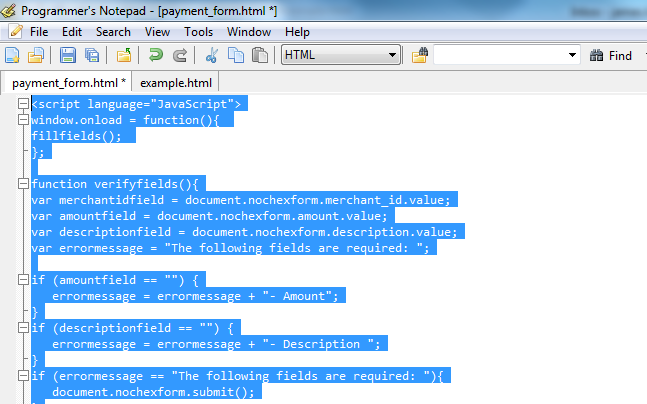
- Next go to your website page, and the section you have made space for the payment form and paste the form into the page.
-
Save changes
-
Go to your updated website page to check your payment form has been added, and everything is working correctly.
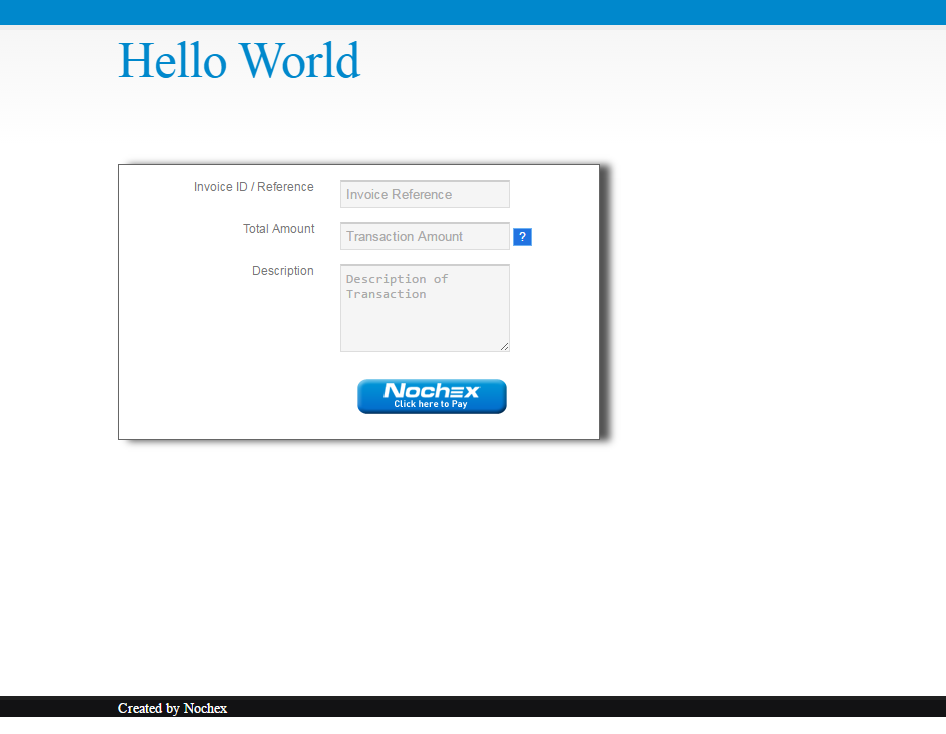
- Once you are happy that everything is working correctly, the page needs to be uploaded to your website using FTP or a file manager, if you do not have access to your server to add custom pages ask your web developer to do this.
Extra Functionality
Payment Links
Your newly uploaded payment page contains some additional functionality; you can customise the URL for individual customers. For example: once you have uploaded your page and have the following URL: http://mywebsite.com/payment_form.html you can add certain parameters after the URL for individual merchants. For example: http://mywebsite.com/payment_form.html?order_id=123&amount=10.00&description=TransactionExample
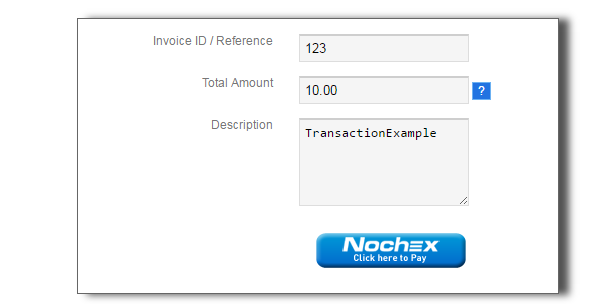
So the Invoice ID/Ref, amount and description fields on your payment form would be prefilled. This is useful if you are sending a payment link through an email, and you want the page setup for the customer without them having to type anything.
Extra Fields
If you would like to add additional fields for the customer to complete, we have a full list in our integration guide.