PrestaShop Setup Guide
This is a step by step guide to integrating Nochex Widget API with your PrestaShop website.
Customers are always recommended to back up their code before making any significant changes, such as the ones detailed in this document.
Installation Instructions
-
Firstly make sure you have downloaded the latest module files, which can be found in your support email.
-
Next, Login to your PrestaShop admin section.
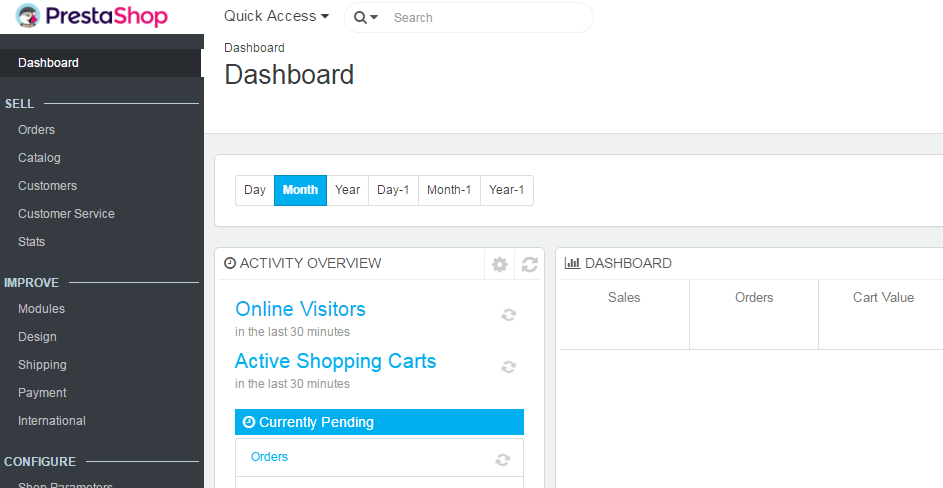
-
Select Modules > Module Manager.
-
Select the Upload a module.

This will show the following popup;
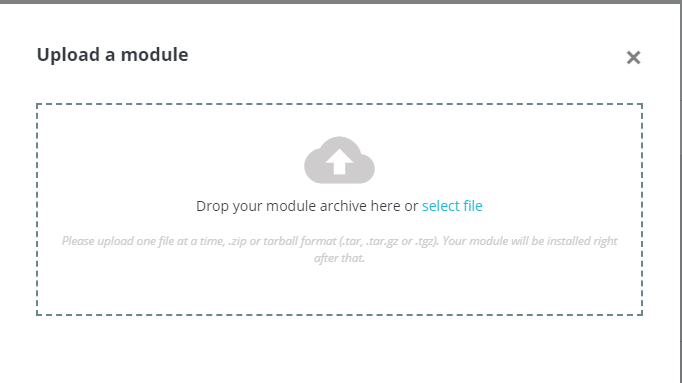
-
Either browse for the nochexapc.zip file that you have downloaded by pressing select file and Click Upload this module when you have found it or Drag and Drop your nochexapc.zip into the white dotted square above.
-
Once you have uploaded and installed the module file, press configure.
Now fill out the necessary information in the fields:
-
(Required field) Nochex Merchant ID/ Email Address: This is your Nochex Merchant ID email address e.g. test@test.com or a Nochex ID e.g. test_ID.
-
(Required field) API Key – Provided to you by Nochex
-
(Optional field) Test Mode: This is an option to test that the module/system works.
cautionNote: Leave unselected if you want to make live transactions.
- (Optional field) Debug: This option allows the module to record information about the module and orders details, which can be used for detecting problems with the module.
-
-
Press Save button.
-
Finally go through your checkout process as a customer to test and ensure the Nochex module is working correctly as well as orders updating / showing correctly.