Charity - Add a Donation Button
A step by step guide to incorporating your new donations page with your charity website / social media.
Add a Button to website
WordPress - Add Button to page
-
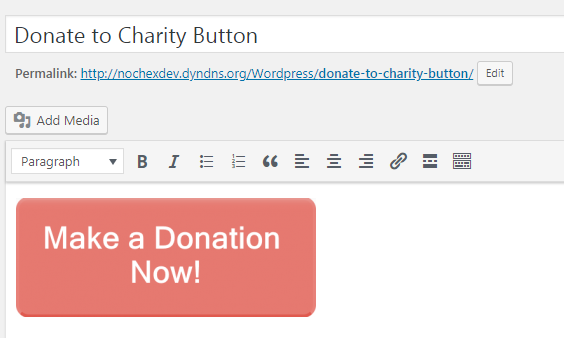
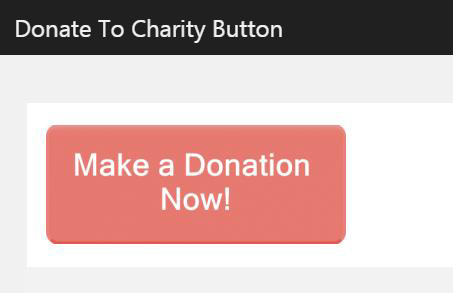
Firstly, create or select a new charity button, e.g.

-
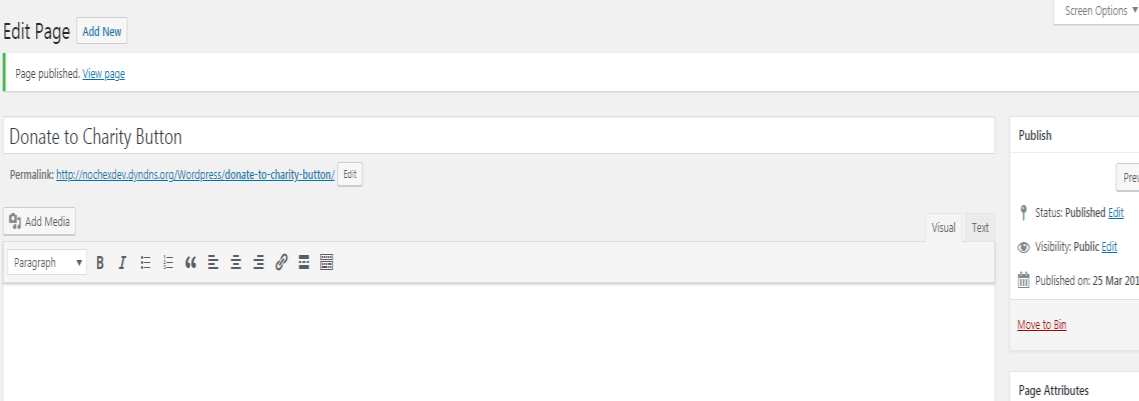
Login to your WordPress website, and go to the page you would like to add your donate button.
-
Next insert your charity button image by pressing the Add Media button.

-
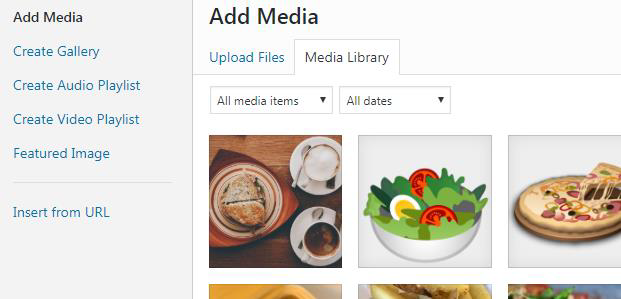
This will load your image library;
-
Upload your new button or select it from your Media Library
Upload Files
-
Select the Upload Files tab

-
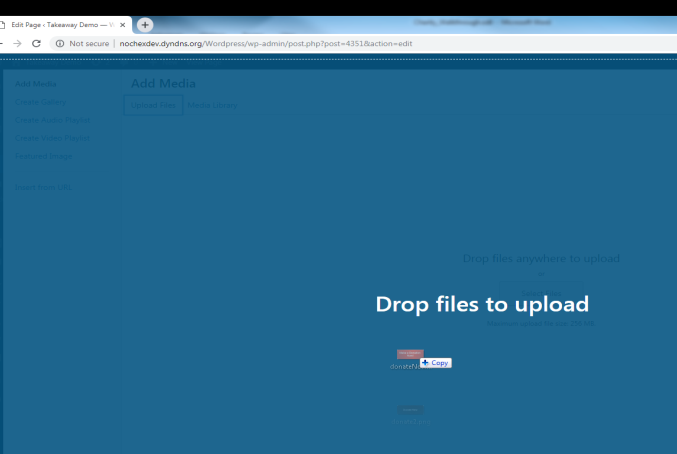
Next Select Files or drag your button image(s) into the white space till your webpage changes as follows; and then drop the button image.
-
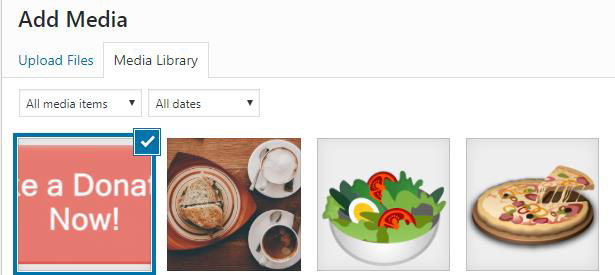
Once you have dropped the donate button image it will load and show in your media library as follows;
-
-
Press the Insert into page button,

This will load your donate image onto your page.
-
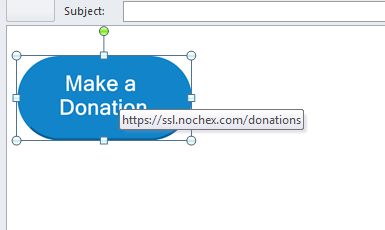
Left click on the make donate button to highlight the button.
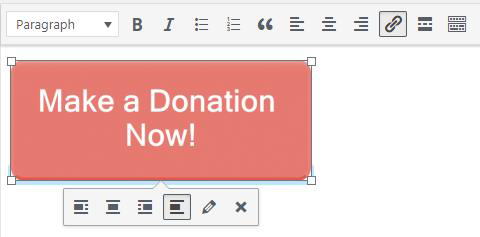
-
Next, press the link icon to add a hyperlink to the button;

-
This will show a text box underneath your donate button;
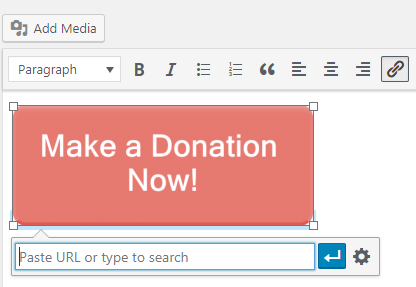
-
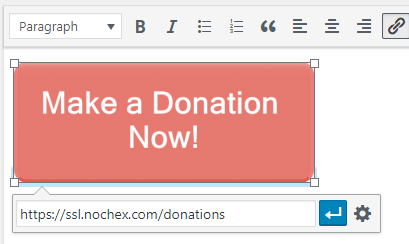
Next enter your newly provided donate url from your charity welcome email into the white box, e.g. https://ssl.nochex.com/donations
-
Once entered, press the blue enter button to save the url to the donate button.

-
Once saved, update all changes on your page and go to the front end of your website to test the newly added donate button works correctly.
WordPress - Add Link to Menu
-
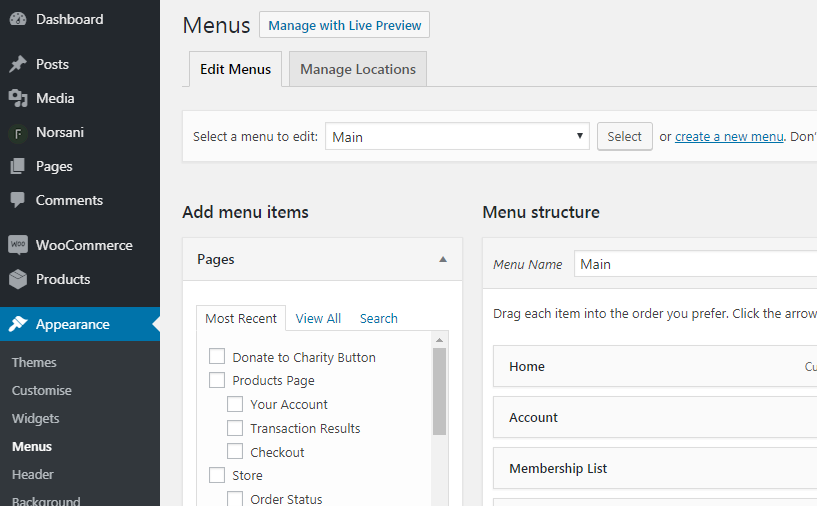
Firstly login to your WordPress Admin section and go to Appearance > Menus.
-
Select the menu you wish to add the donate link by selecting the dropdown box and clicking on the menu (If you have more than one)

-
Once selected, press the Select Button to show the menu.

-
Once you have loaded the menu you would like to add a donate link, click the Custom Links tab;

This will load an option to enter your donate URL and text you would like to display

-
Enter your newly provided donate url from your charity welcome email into the white box labelled URL, e.g. https://ssl.nochex.com/donations and enter Link Text, e.g. Donate Now

-
Next Press the Add to Menu box button to add the link to your menu;

-
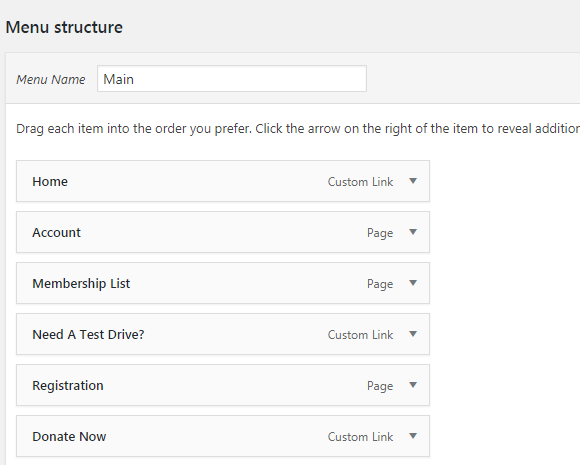
This will add the link onto the Menu system.
-
Press Save Menu to save your changes;

-
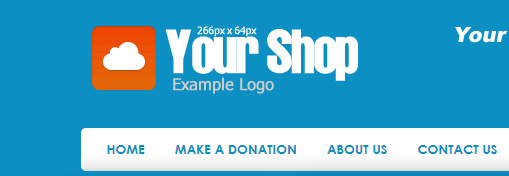
Go to the front end of your website, and check your donate link is showing and works as expected.
Joomla - Add Link to Menu
-
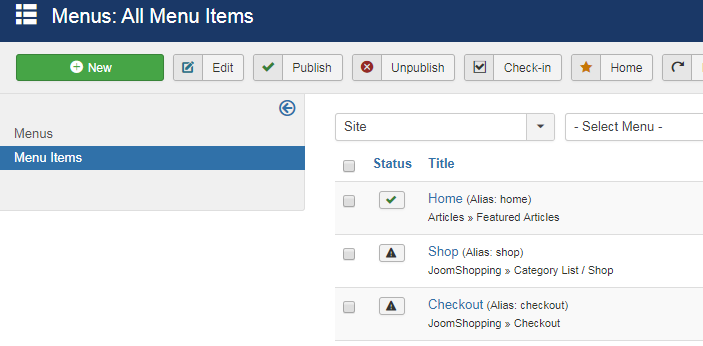
Login to your Joomla admin section, and go to Menus > All Menu Items;

This will show a list of all the links on your website
-
Press the Green New button to add a new link to your website

This will load all the information required to add a new link.
-
Next update the following;
-
Menu Title - Name of the link e.g. Donate Now

-
Details - Menu Item Type* - Select the blue Select button next to the grey textbox

-
This will show a popup box and allow you to choose a link;

-
Next Press System Links > URL

This will save your option and allow you to enter a URL;

-
-
Enter your newly provided donate url from your charity welcome email into the white box labelled Link *, e.g. https://ssl.nochex.com/donations

-
Target Window and Template style can be left with defaulted values;
-
Next Press the Link Type tab and update the following;
- Link Title Attribute - description of the link

-
Module Assignment tab can be left with defaulted values
-
Next - Click on the Details tab, and update the information on the right hand part of the screen - Menu - location of the link should be added to. E.g. Main Menu

-
-
Save all changes.

-
Go to the front end of your website and test to make sure your charity link works as expected.
Joomla - Add Button to Page / Article
-
Login to your Joomla admin and go to Content > Articles

-
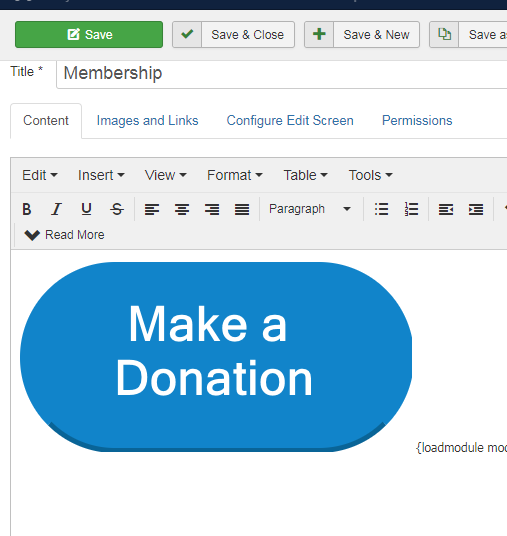
From the list, Select the article you would like to add a Donate Now button, e.g. Membership
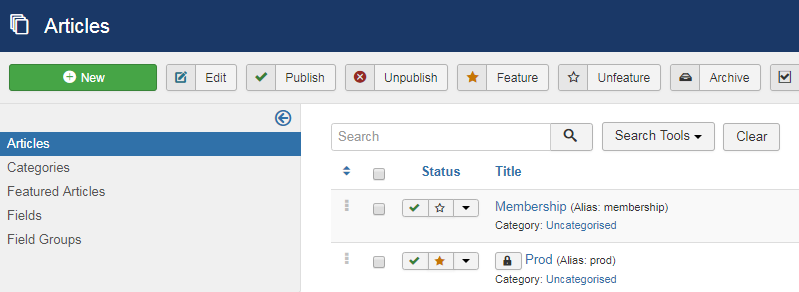
This will load your current article content;
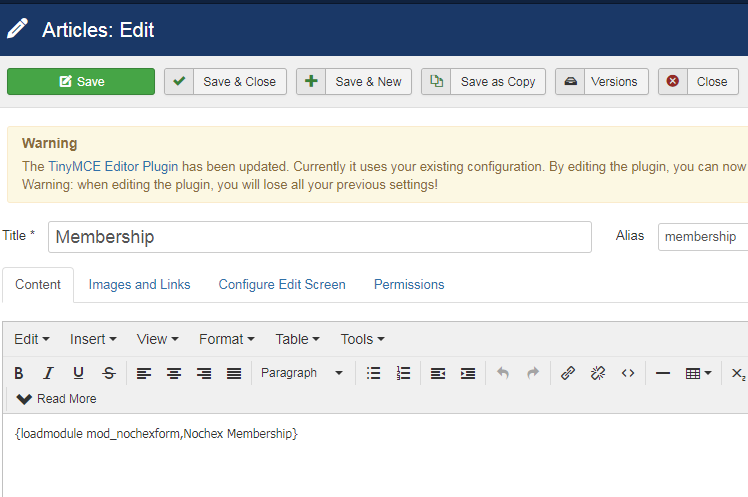
-
Next, Press the image button to insert a new image into the article;

-
A popup will show and allow you to select or upload your donate now button
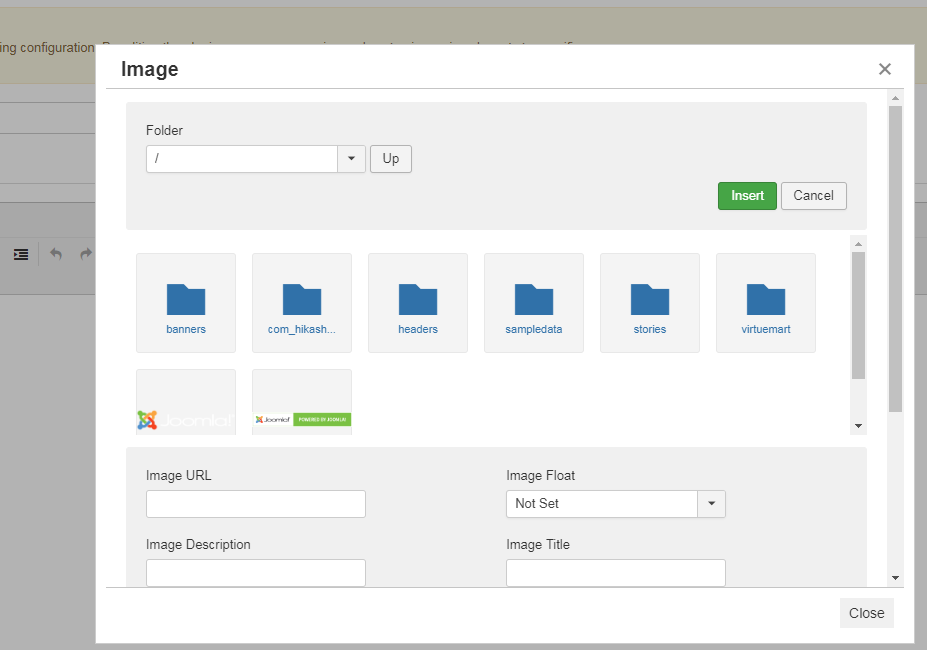
-
Scroll to the bottom of the content box to the upload file section and choose your button image

-
Next press the blue start upload button

-
-
Once uploaded, select your donate button;
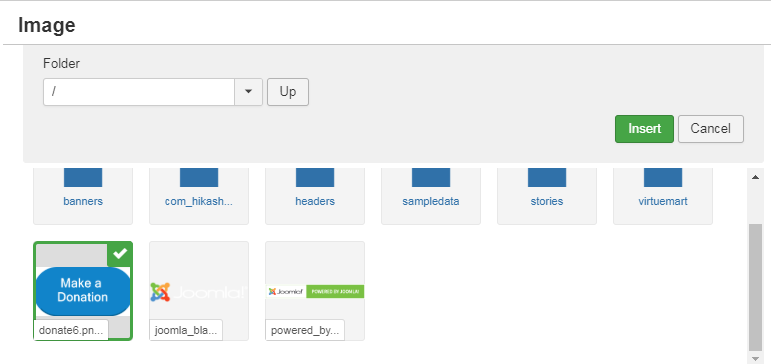
-
Press the green insert button

This will insert your new donate button into your article page;
-
Click on the button and this will allow you to change the size of the button

-
Once you are happy with the size of your button make sure the button is still selected, and then click on the Insert Link button


-
A popup will show, enter the following information into each box
-
URL - Enter your newly provided donate url from your charity welcome email, e.g. https://ssl.nochex.com/donations
-
Title of the page - Alt text - Optional
-
Target - can be left as default.

-
-
Once updated, press the blue ok button

-
Save all changes by pressing the green button at the top

-
Go to the front end of your website and test to make sure your charity link works as expected
Wix - Add Button to Page / Article
-
Login to your Wix account then go to and edit your site

-
Go to the page you would like to add your Donate Button, e.g. Home
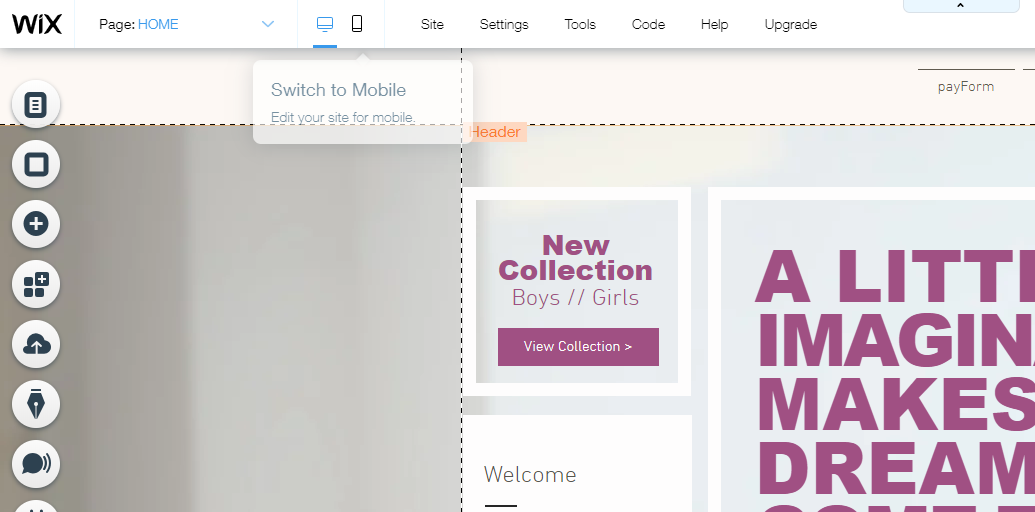
-
Next Press the plus button to add an element to your website;
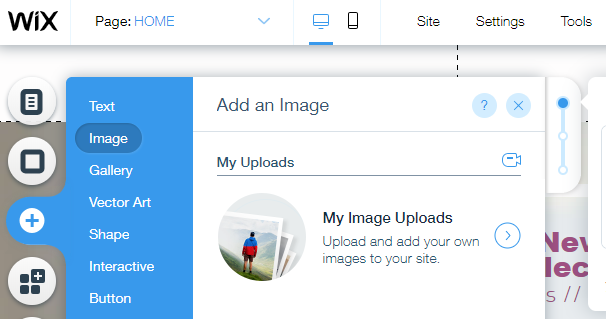
-
Upload your donate button image by pressing My Image Uploads option
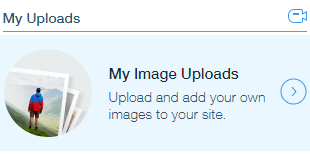
-
Select your donation button and upload to your website;

-
Once uploaded, Press the blue Add to Page button

-
This will add the image to your page, next resize and position the button where you need it to be shown
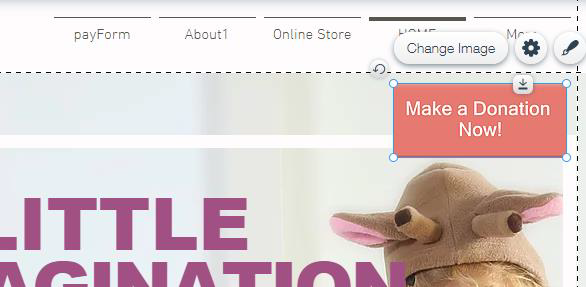
-
Once positioned and sized, whilst the image is still selected choose the add a url button from the list of options provided

-
This will show a popup; Select the Web Address option from the list
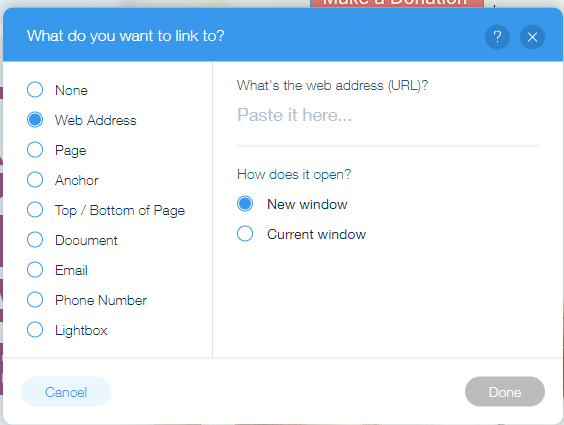
-
Next, Enter your newly provided donate url from your charity welcome email, e.g. https://ssl.nochex.com/donations in the box labelled Paste it here...
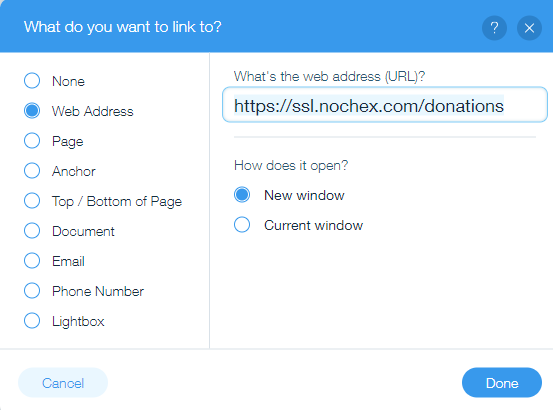
-
Next Press the Blue Done button

-
This will update your image with a link to your charity page. Next, publish your website to make your button live.

-
Go to the front end of your website and test to make sure your charity link works as expected.
Wix - Add Link to Menu
-
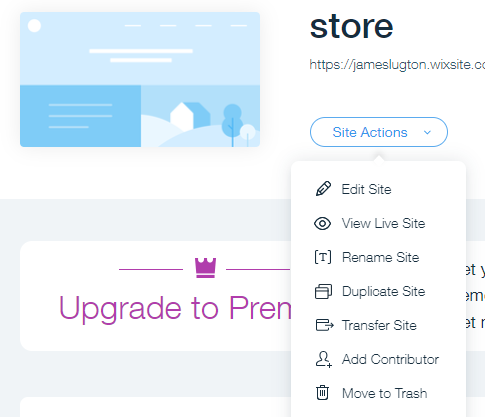
Login to your Wix account then go to and edit your site
-
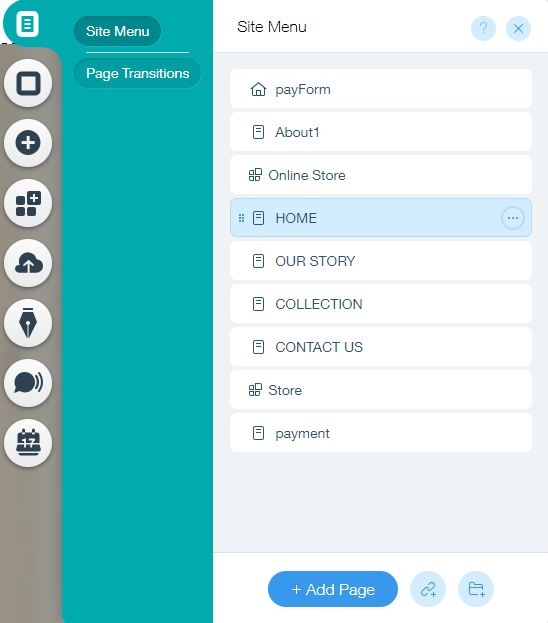
Click on the Menu section to add your charity page link to show a list of options;

-
Press the Button Manage Menu

This will show a popup, and allow you to add a link to your website
-
Next press the blue add a URL link

This will show another popup to add a link;
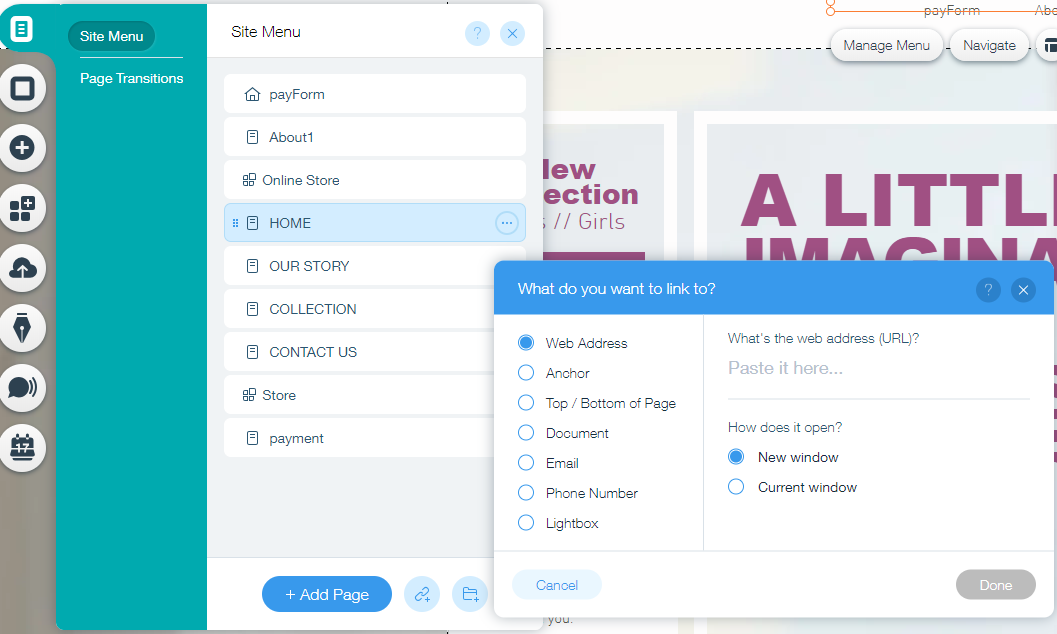
-
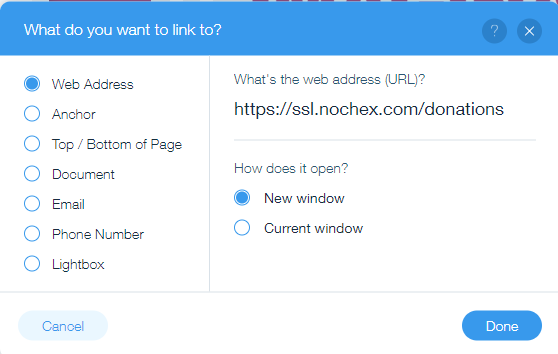
Enter your newly provided donate url from your charity welcome email, e.g. https://ssl.nochex.com/donations in the box labelled Paste it here
-
Press the Blue done button to add the link to your site menu

This will show as following

-
Next double click on the New Link text to show a text box

-
Replace the text New Link with text for your new Donation Page, e.g. Donate Now and press the blue Done button

-
Next Move the link to the position it needs to be, and then publish the website
-
Go to the front end of your website and test to make sure your charity link works as expected.
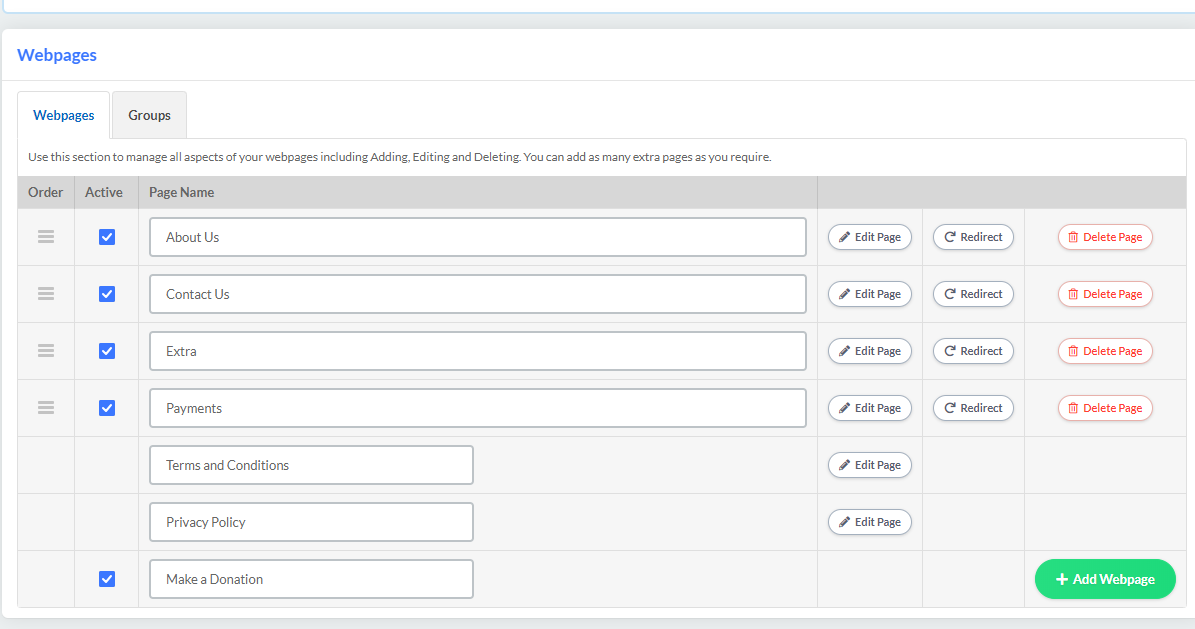
EKM - Add Link to Page
-
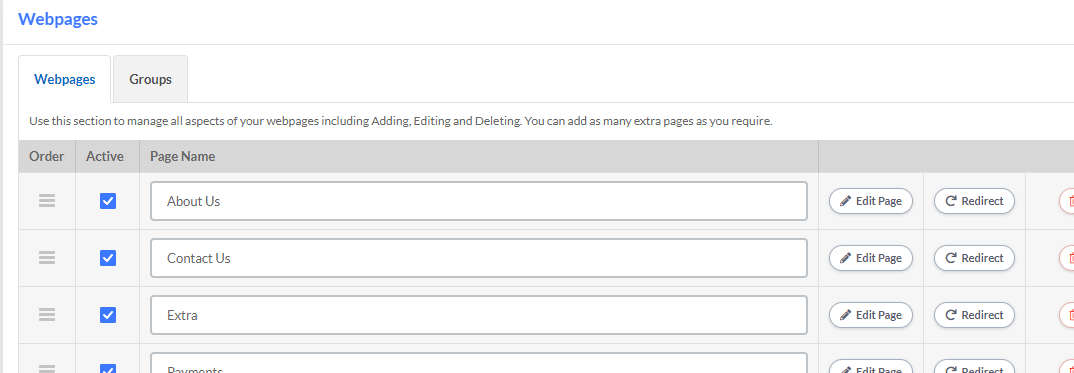
Firstly, login to your EKM admin section and go to Design > Webpages
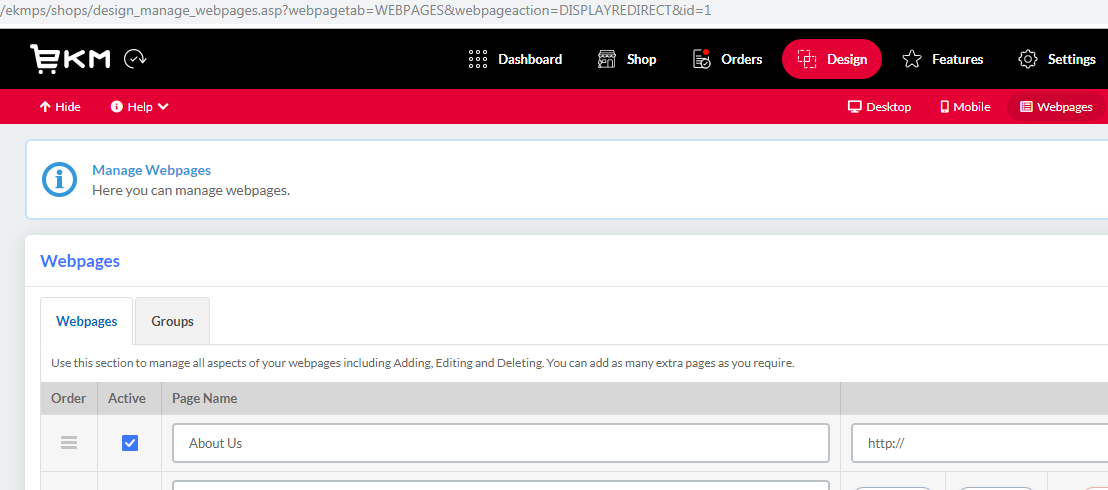
A list of your webpage will be visible,
-
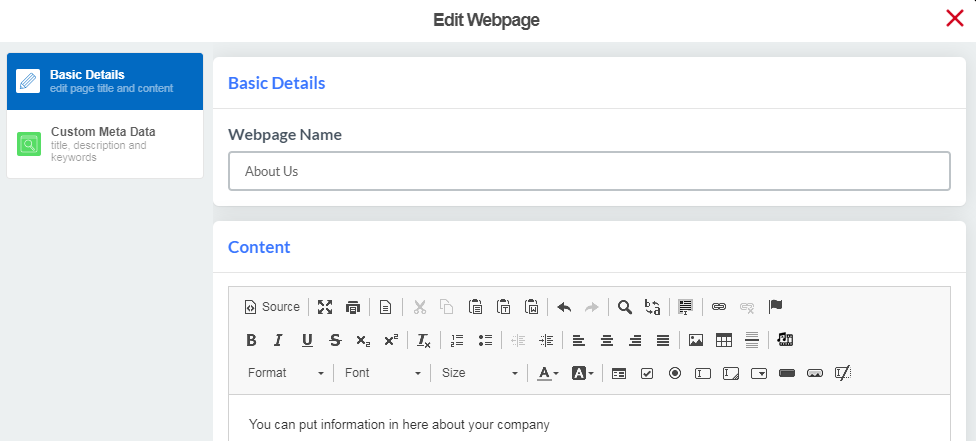
Press the grey Edit Page button, next to the page you would like to add a donation button

This will show a popup of your page
-
Next press the image button

This will show an image popup
-
Press the grey Browse Server button to upload your donation button image

A popup will show,

-
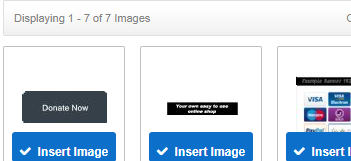
Drag and drop your donation button image or click and find the image for uploading.
Once you have uploaded your image it will appear in the image library underneath
-
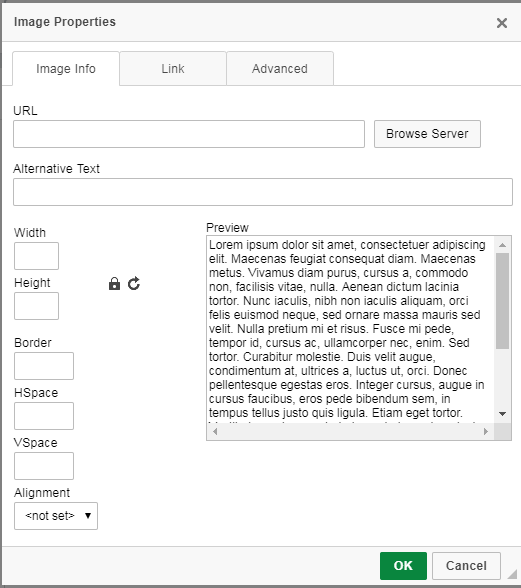
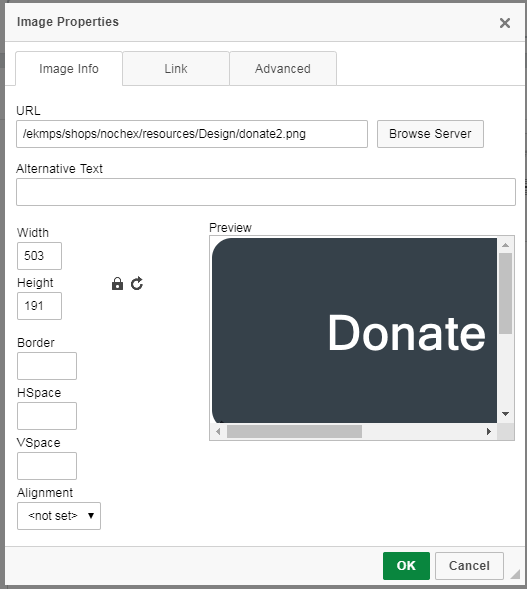
Next, press the blue insert image button
This will insert your new image into the image properties box, and you can see a preview of how it will look on the page in the preview window.

-
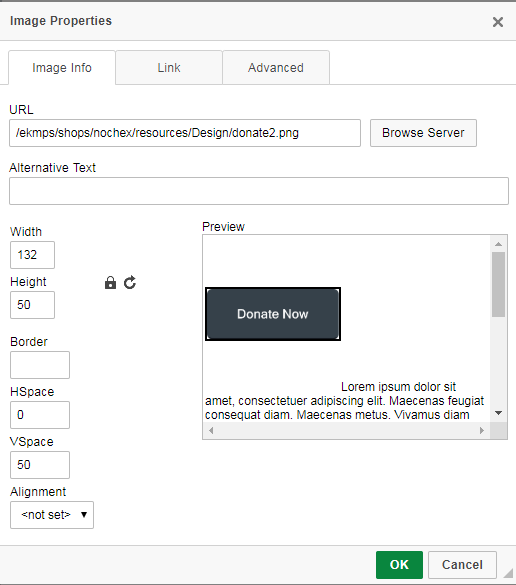
Next update the images properties, e.g. Width, Height, Border etc;
-
Next, click on the link tab and enter your newly provided donate url from your charity welcome email e.g. https://ssl.nochex.com/donations into the box under the label URL
-
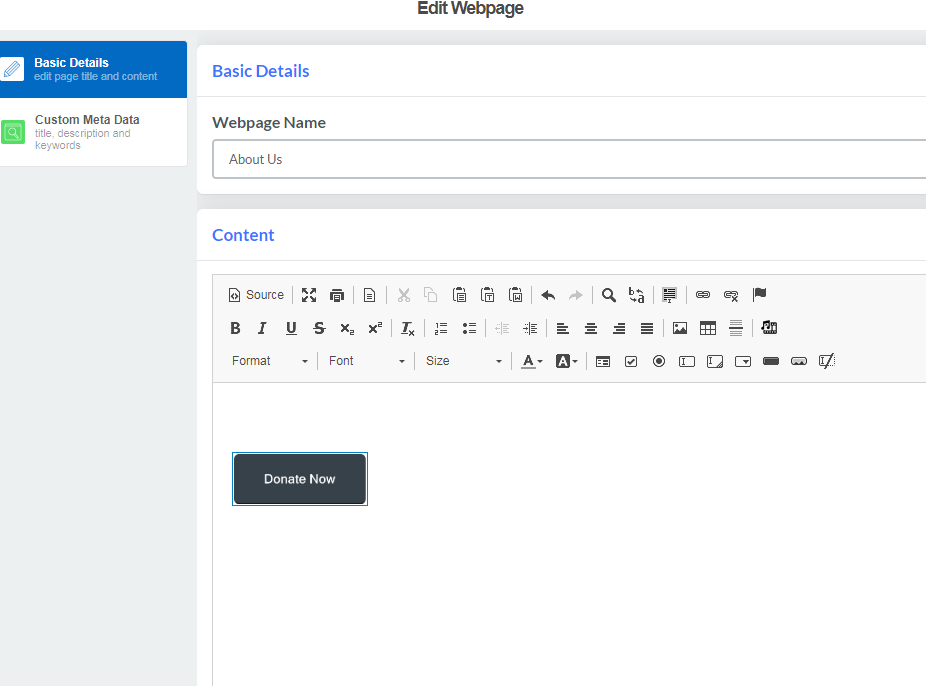
Next Press the green ok button;

This will insert your donation button onto your page
-
Once happy with the way the button looks, and press the white Save & Close button

-
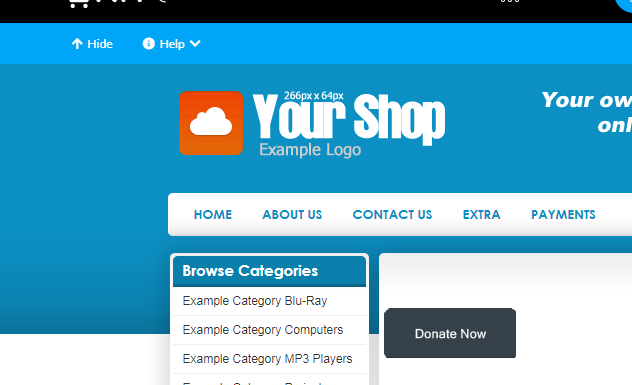
Go to your website front end to make sure the donation button has been added and test to make sure the button works.
EKM - Add Link to Menu
-
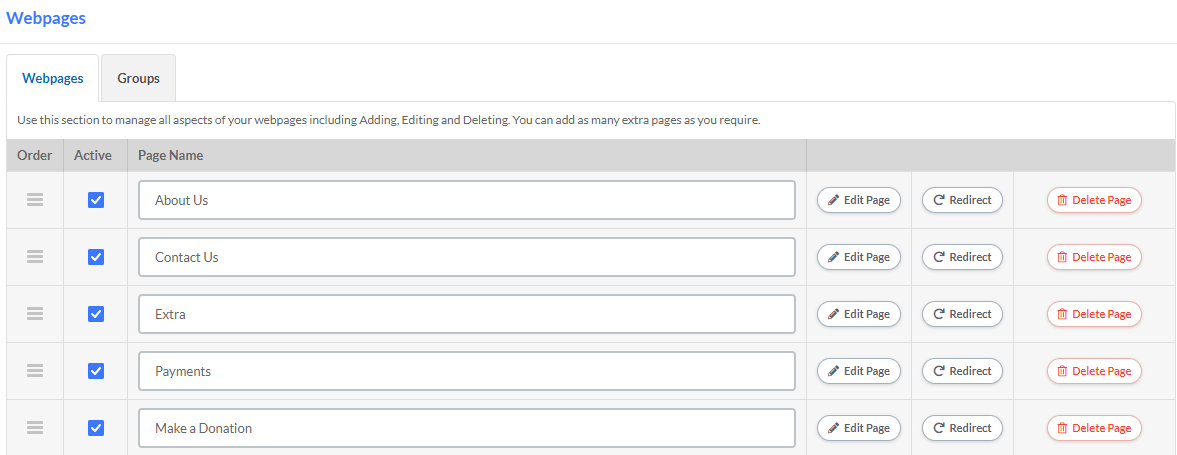
Firstly, login to your EKM admin section and go to Design > Webpages

A list of your webpage will be visible,
-
At the bottom of your list of webpages, enter text into the White text box, e.g. Make a Donation
-
Next press the green Add Webpage button to add the menu item to your website.

-
Press the Redirect button next to the new menu item

This will load a text box with text included: http://

-
Replace http:// with your newly provided donate url from your charity welcome email, e.g. https://ssl.nochex.com/donations
-
Move your mouse outside of the textbox and click on white space which will save the link and update your menu item;

-
Next you can move the position of the menu item by holding your left mouse button on the menu item and moving your mouse up or down


-
Once you have updated the position of your menu item, go to your website front end to make sure the menu item is visible and to make sure the link works.
Setup Instructions - Add a Button to social media
Twitter - Tweet Text
- Firstly, Login to your twitter account

- Enter some text about your charity along with your newly provided donate url from your charity welcome email e.g. https://ssl.nochex.com/donations
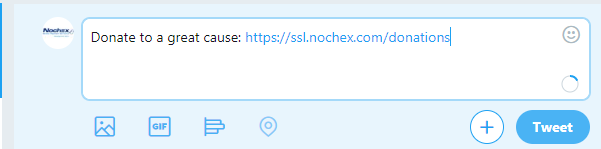
- Once happy with your post, press the blue tweet button to publicise your tweet.
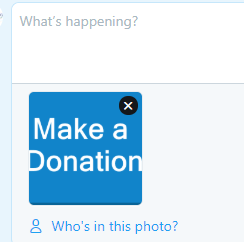
Twitter - Tweet Image
- Firstly, Login to your twitter account
- Click on the tweet box at the top, and press add image button underneath;

- Browse and insert your donation button or charity logo
- Insert some additional text about your charity, and input your newly provided donate url from your charity welcome email, e.g. https://ssl.nochex.com/donations
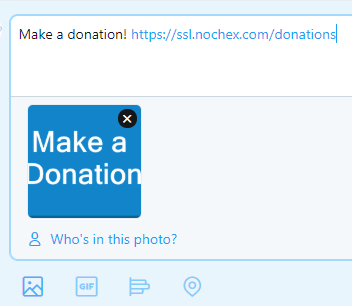
- Once happy with your post, press the blue tweet button to publicise your tweet.
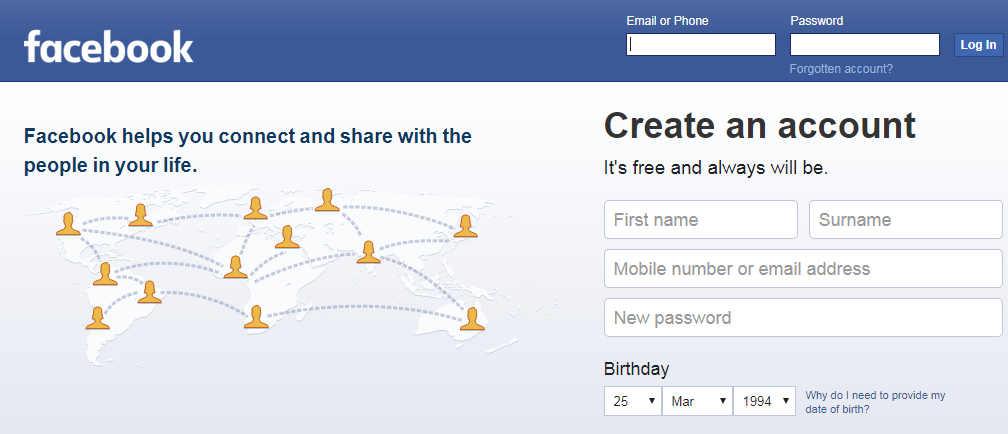
Facebook - Create a Charity Post
- Login to your Facebook account
-
Click on the status box, and input your newly provided donate URL from your charity welcome email, e.g. https://ssl.nochex.com/donations along with your donations button or charity logo.
-
Press Post to make your status live, and will show a preview of your donations page.
Setup Instructions - Add a Button to email
Add a Charity Button / Image Link
Microsoft Outlook
-
Create or compose a new email

Once your new email has loaded
-
Press the Insert Tab

-
Next Press the Picture Button

-
This will show a popup, browse and find your donation button or charity logo that you want to add to your email
-
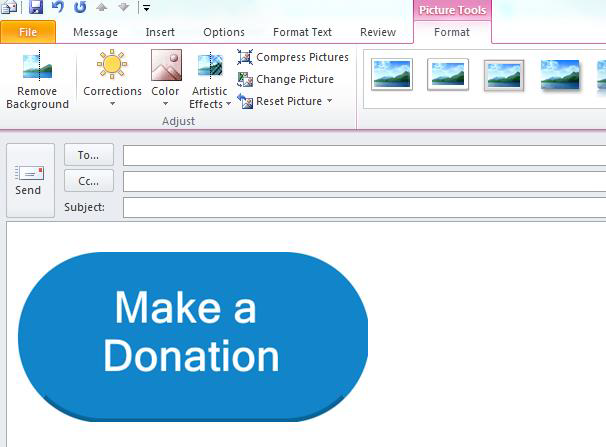
Once you have found your image, press the insert button

This will add the image to your email;
-
Change the size, position etc. of the image
-
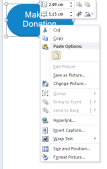
Right click on the button / charity image to show a menu
-
Left Click, Select Hyperlink

-
This will show a popup box, enter in the address box your newly provided donate url from your charity welcome email, e.g. https://ssl.nochex.com/donations

-
Press the Ok button to update your image with a link.
-
Send a blank email to yourself to test the donations link works as expected.
Gmail
-
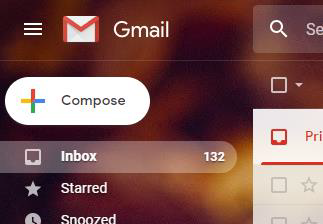
Login to your Gmail account
-
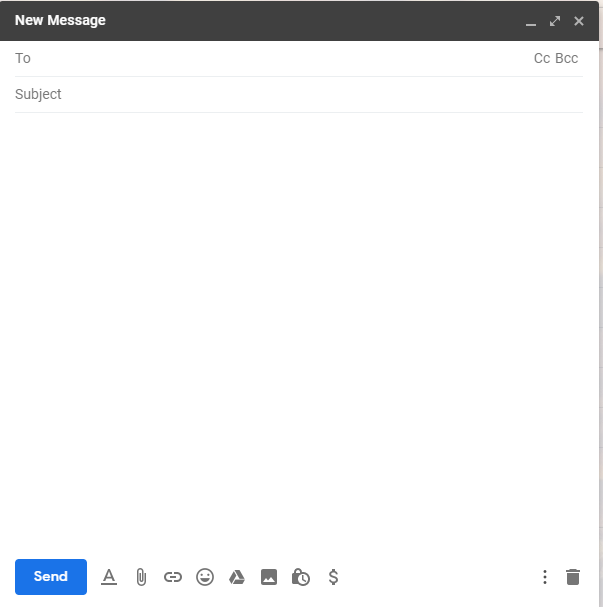
Create or Compose a new email

This will load a window
-
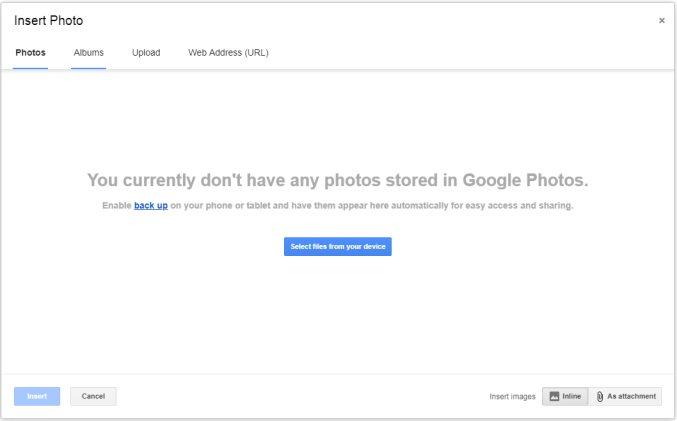
Next insert a Photo, by pressing the photo button

This will load a popup allowing you to insert or select a photo into your email
-
Press the Select files from your device button and find your donation button or charity link

-
Once you have found your image and added it to your email left click on the image and resize accordingly to fit your email content.
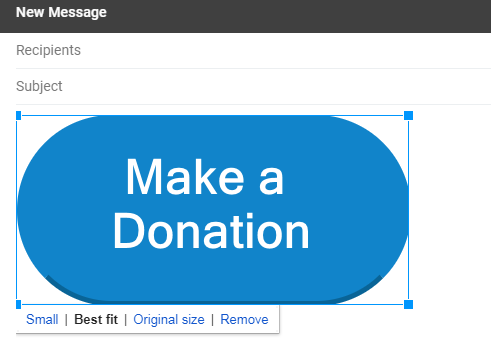
-
Next, make sure your image is still selected and press the insert link button

This will show a popup,
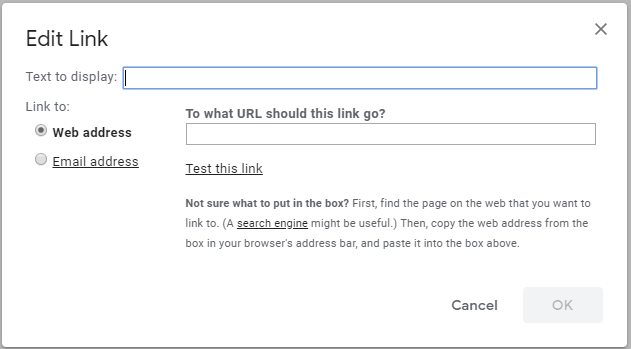
-
Next, enter in the white textbox under the label To what URL should this link go to your newly provided donate url from your charity welcome email, e.g. https://ssl.nochex.com/donations
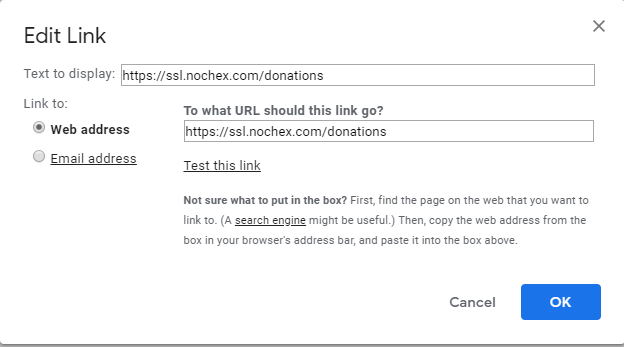
-
Press the Blue Ok button

-
Send a test email to yourself to make sure the charity button / image is working correctly
Troubleshooting
Problem:
I have successfully added my charity link to my website but when I click on the link I see the following website; and not my charity website that was provided to me! The link appears to go to: https://ssl.nochex.com/donations/
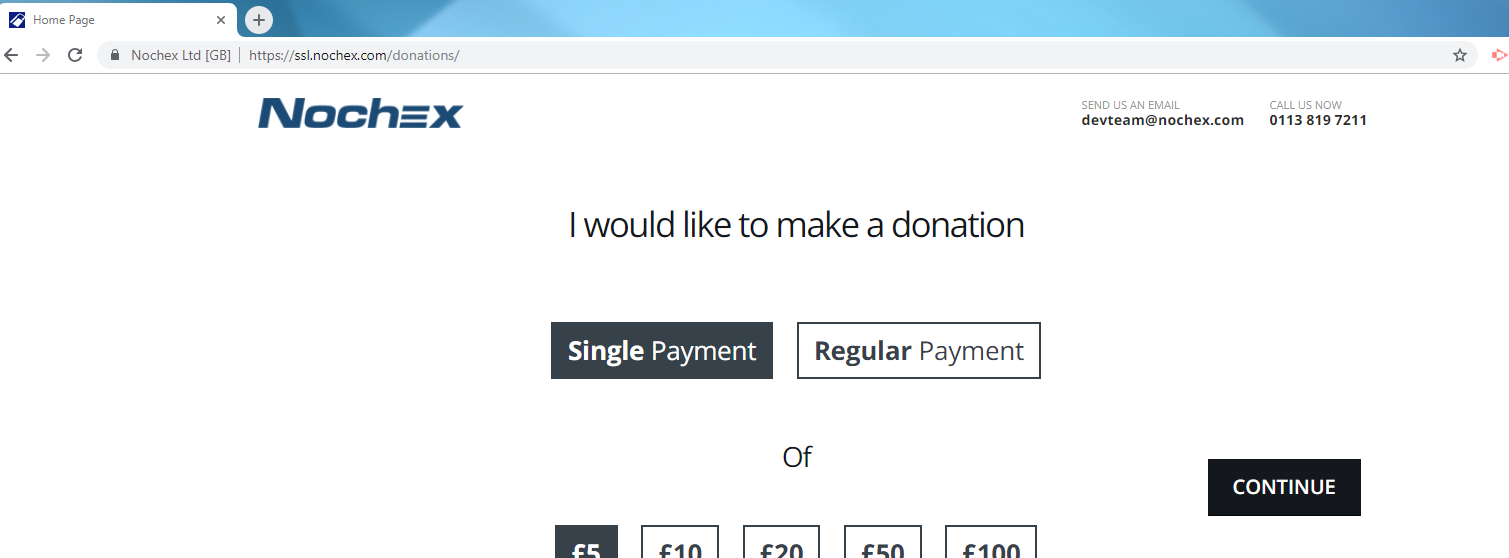
Solution:
-
Go back through the instructions in which you have added your charity link, and replace the URL: https://ssl.nochex.com/donations with the charity link provided to you, e.g. https://ssl.nochex.com/xxxxxxxxxx
-
Contact us in relation to the issue you are having, along with your charity name, email address and we will be happy to assist you.
Problem:
I want to add a charity link to a website platform that is not listed in this document! How can I add it as I am not a web / internet person?
Solution
Contact us advising us of the platform you are trying to add your charity link, along with your charity name, email address and we will be happy to assist you.